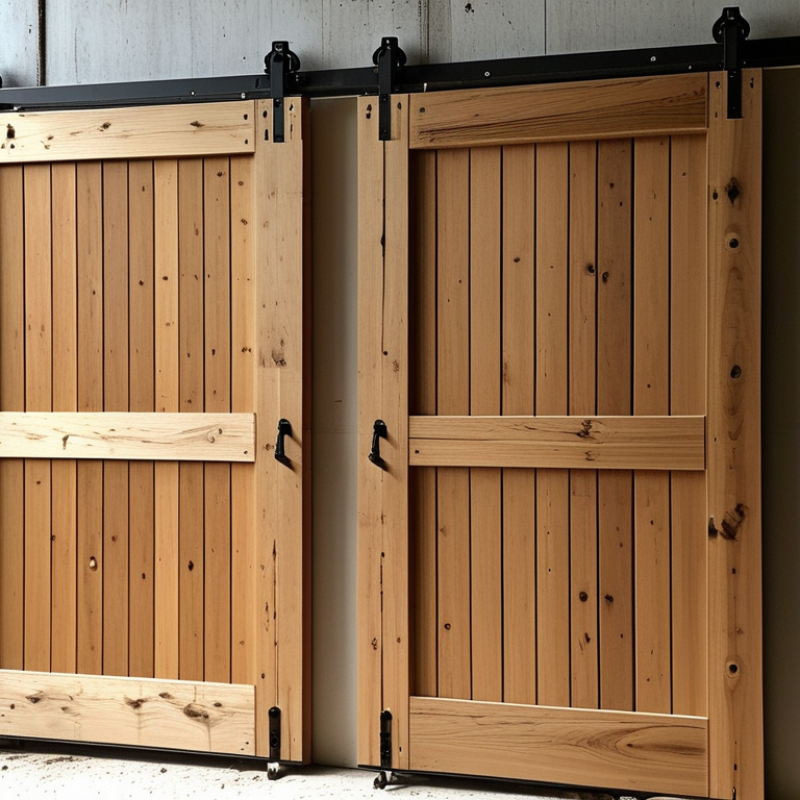
| 1 | Measure the opening | Measure the finished opening width and height at several points. Use the smallest width and height recorded. | Tape measure, pencil, level | The opening is square, and the measurements are recorded before hardware is installed. |
| 2 | Confirm panel coverage | For two panels, the combined panel width should cover the opening and provide approximately 50–75 mm of overlap on each side when closed. | Tape measure, installation instructions | Both panels cover the opening without exposing the side gaps in the closed position. |
| 3 | Locate wall framing | Identify studs or install a properly supported mounting board. The track must be fastened to structural material rather than drywall alone. | Stud finder, drill, mounting board, screws | Each required mounting point has secure structural support. |
| 4 | Mark track height | Leave the clearance specified by the hardware instructions between the top of each door panel and the track. A common starting point is 25–50 mm. | Level, pencil, measuring tape | The reference line is level across the entire travel area. |
| 5 | Install the mounting board or track | Use the fastener type and spacing specified for the wall construction and track. Keep the track straight and fully supported. | Drill, bits, wrench, screws, level | The track does not flex, twist, or move when moderate hand pressure is applied. |
| 6 | Attach hangers to both panels | Position the two hangers on each panel according to the supplied template, keeping them evenly spaced and aligned. | Hangers, bolts, wrench, screwdriver | All hanger bolts are tight, and the hardware sits flat against the door surface. |
| 7 | Hang the first panel | Lift the first panel onto the track with assistance. Keep fingers clear of pinch points during placement. | Two-person lifting support, step ladder if needed | The panel sits evenly on the track and rolls without binding. |
| 8 | Hang the second panel | Place the second panel on the same track and maintain the required center overlap or meeting clearance specified by the hardware design. | Two-person lifting support, wrench | Both panels roll independently and do not collide during initial movement. |
| 9 | Install door stops | Install end stops at both ends of the track and any center stops required for the two-panel configuration. | Stops, wrench, screwdriver | Each panel stops before reaching the end of the track or contacting nearby trim. |
| 10 | Fit floor guides | Position one guide for each panel or use the guide arrangement supplied with the hardware. The guide should control sway without lifting the panel. | Floor guides, drill, screws, level | Panels remain stable and move without scraping the floor or guide. |
| 11 | Align both panels | Adjust hanger nuts so the panel bottoms are level. Check the top edges, center meeting line, and side overlap. | Level, wrench, tape measure | The panels are level, the center gap or overlap is consistent, and no panel leans forward or backward. |
| 12 | Test the complete movement | Open and close each panel slowly several times, then operate both panels together through their full travel range. | Level, wrench, silicone-free dry cloth | Movement is smooth, the panels remain aligned, and there is no rubbing, excessive noise, or track movement. |
| 13 | Complete the safety inspection | Recheck structural fasteners, stops, guides, hanger nuts, and pinch-point clearances after testing. | Wrench, screwdriver, level | All fasteners are secure, the track is stable, and the panels cannot leave the track during normal operation. |